Galactic Assault is a 40 player game mode in DICE's Star Wars Battlefront II that spans all three trilogies and has objectives that are unique to each planet.
There are a total of twelve Galactic Assault maps. Below are the descriptions of each Galactic Assault scenario as detailed from the Star Wars Battlefront II official website.
Maps
Clone Wars
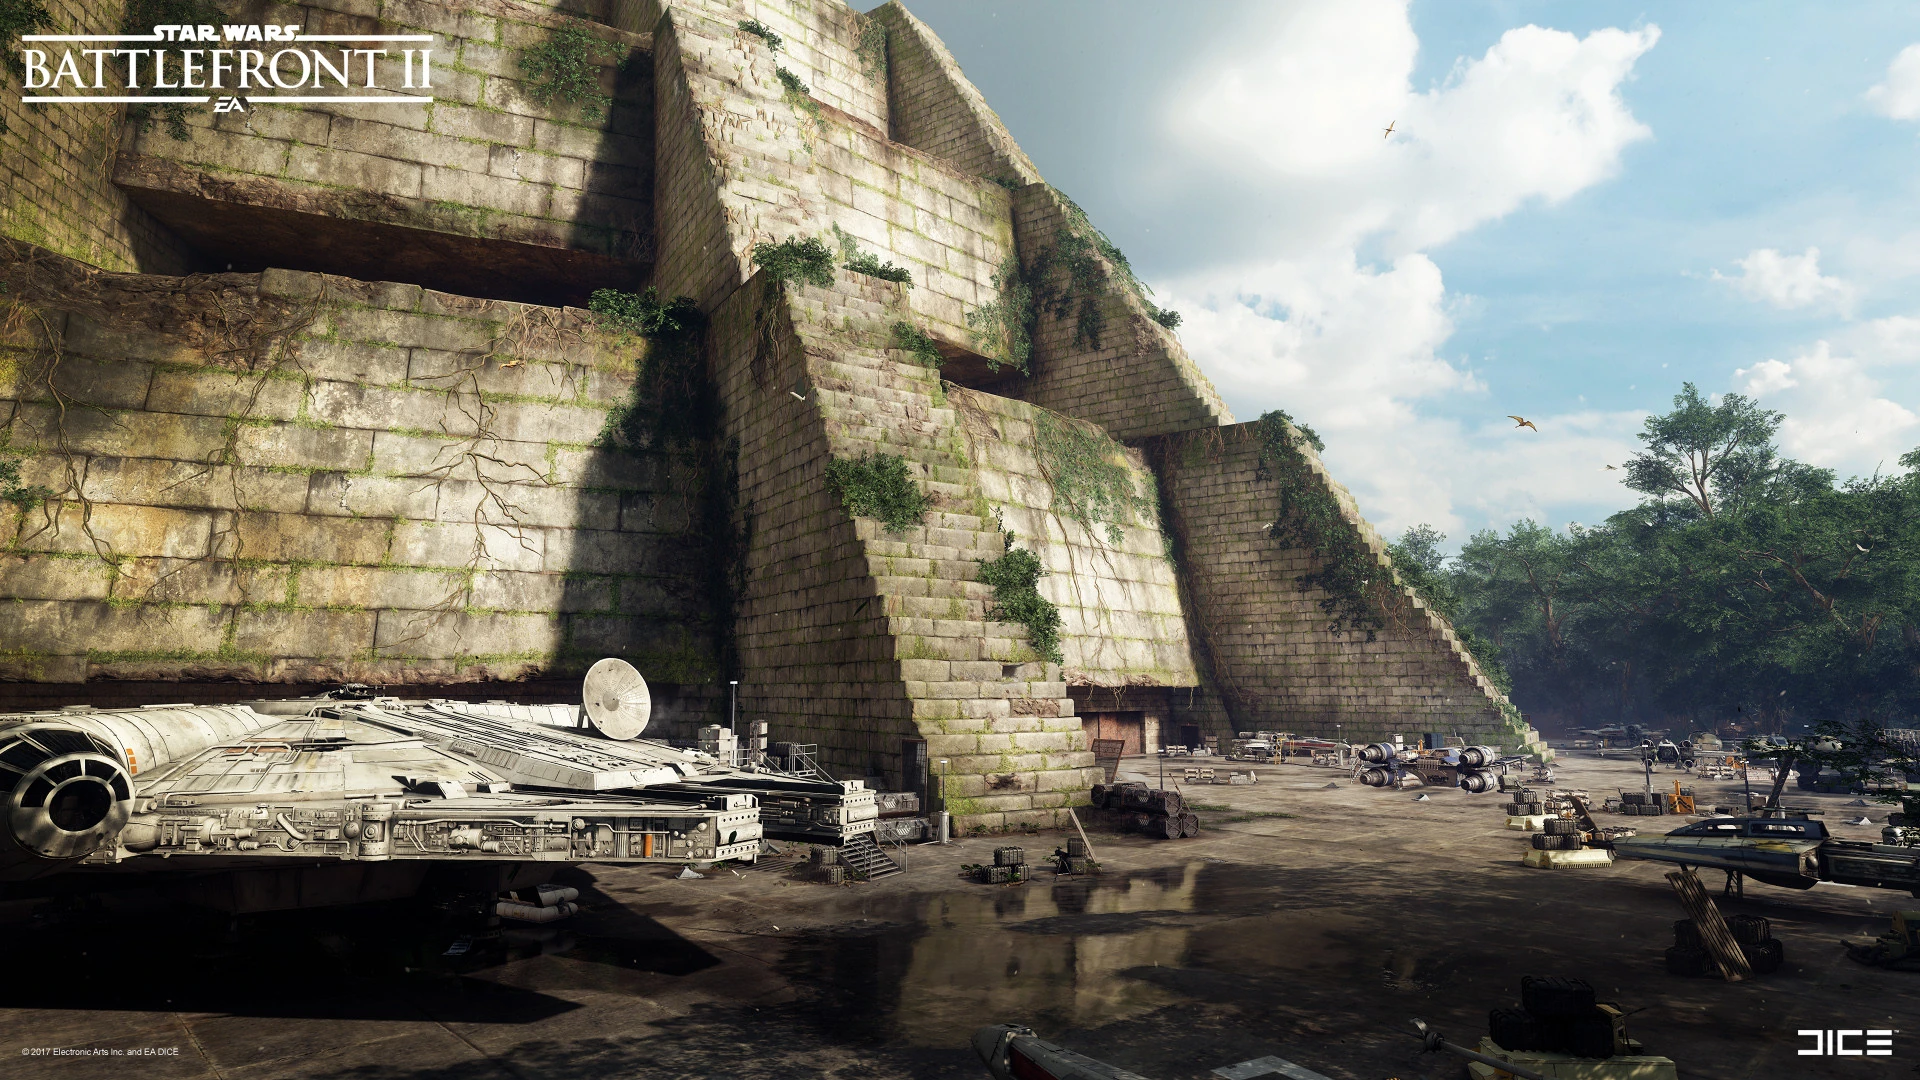
Naboo: Theed

In the first stage, clone troopers must use ion launchers that are scattered around the map to damage the incoming Multi-Troop Transport (MTT) leading the Separatist invasion force. The droids must attack the clones carrying the ion launchers before they destroy the MTT.
If the clone troopers fail to destroy the MTT before it reaches the palace, then stage two begins. Here, the droids must override the palace's security systems in order to gain access to the throne room.
If the droids are successful in overriding the palace's security system, then the third and final stage commences. Here, the clones must prevent the droids from taking the throne room control point. The droids must enter the throne room and capture the control point at its center to win the match.
Kashyyyk: Kachirho Beach
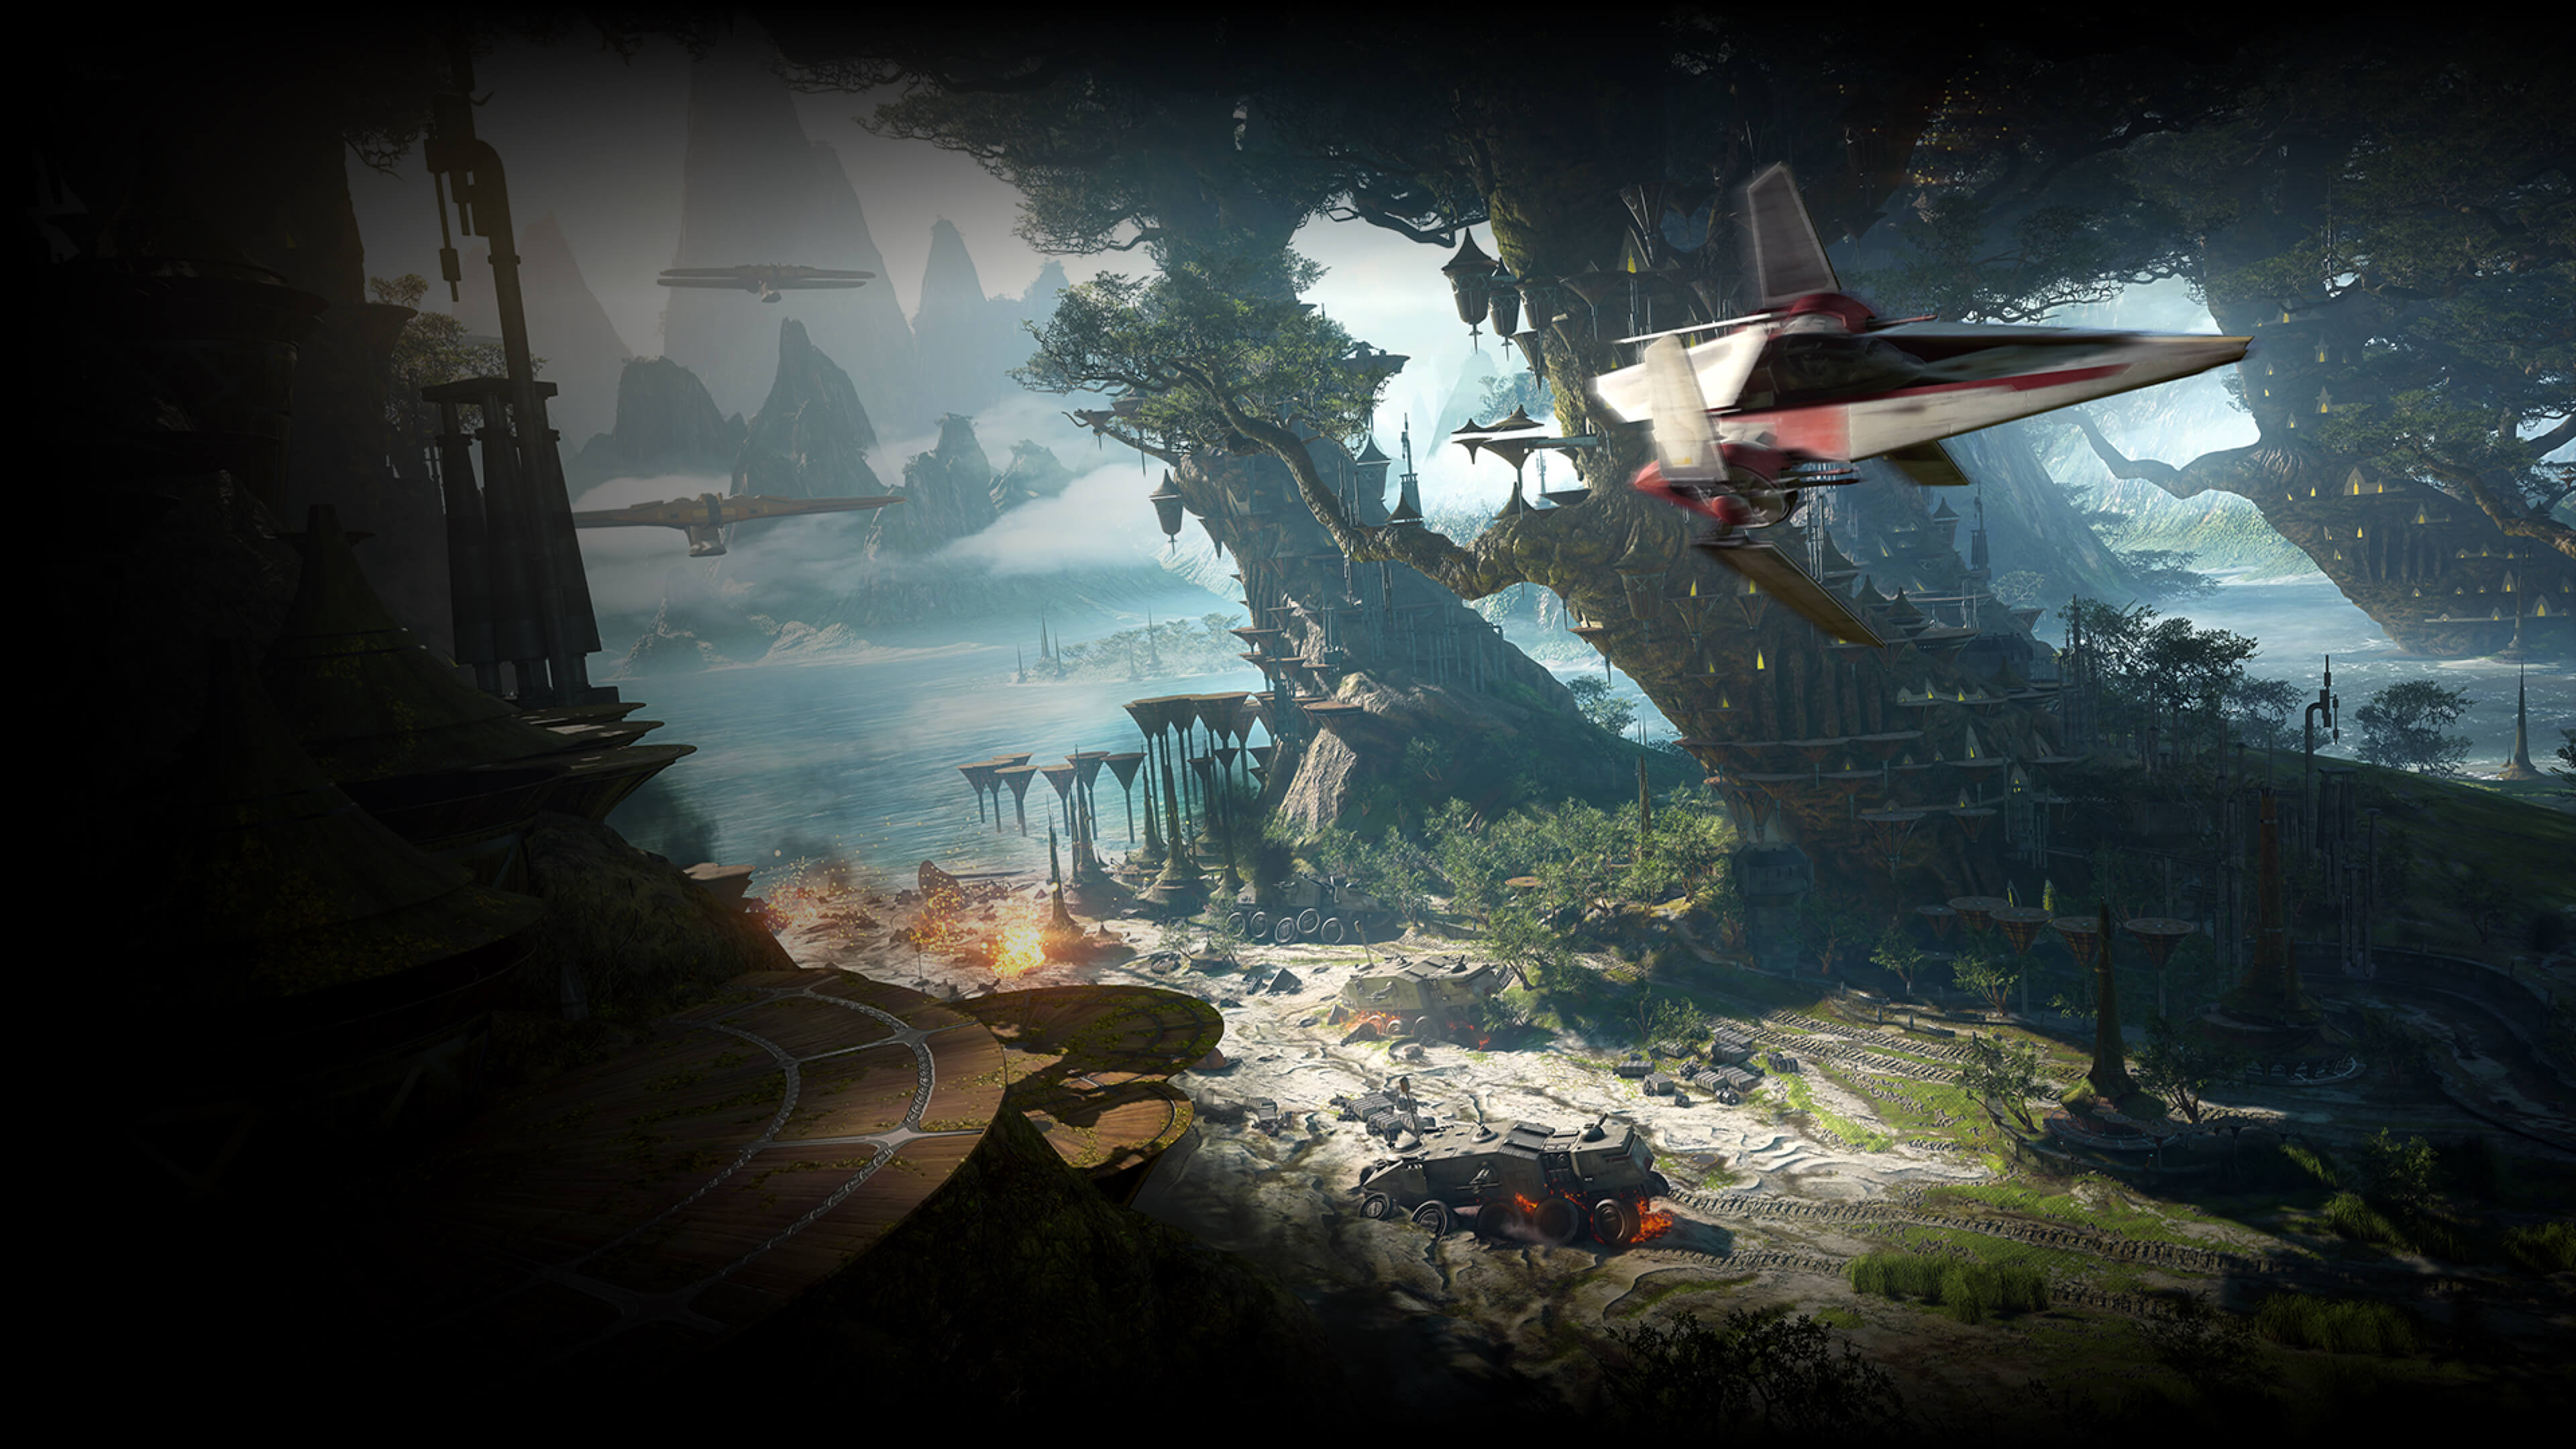
On Kashyyyk, a Separatist army storms ashore in a thundering amphibious landing. Infantry storm up the beach escorted by flights of Vulture Droids and immense AATs. Awaiting them are Wookiee Warriors and clone troopers dug in behind Juggernaut combat vehicles to defend a grounded Star Cruiser. The invaders make their way from the waters' edge alongside two massive MTT's, blasting their way through Republic defenses in an effort to destroy the ship.
Kamino: Cloning Facility
The waves of Kamino crash beneath the slender platforms of a Cloning Facility as armies of battle droids descend on the artificial island. Their aim is simple: destroy the Republic's ability to produce more clones. The attackers make their way through the twisting paths and laboratories, hacking computer systems and taking down defenses as they fight toward the final goal: the fusion core. Clone forces will use all their wits and skills to stop them.
Galactic Civil War
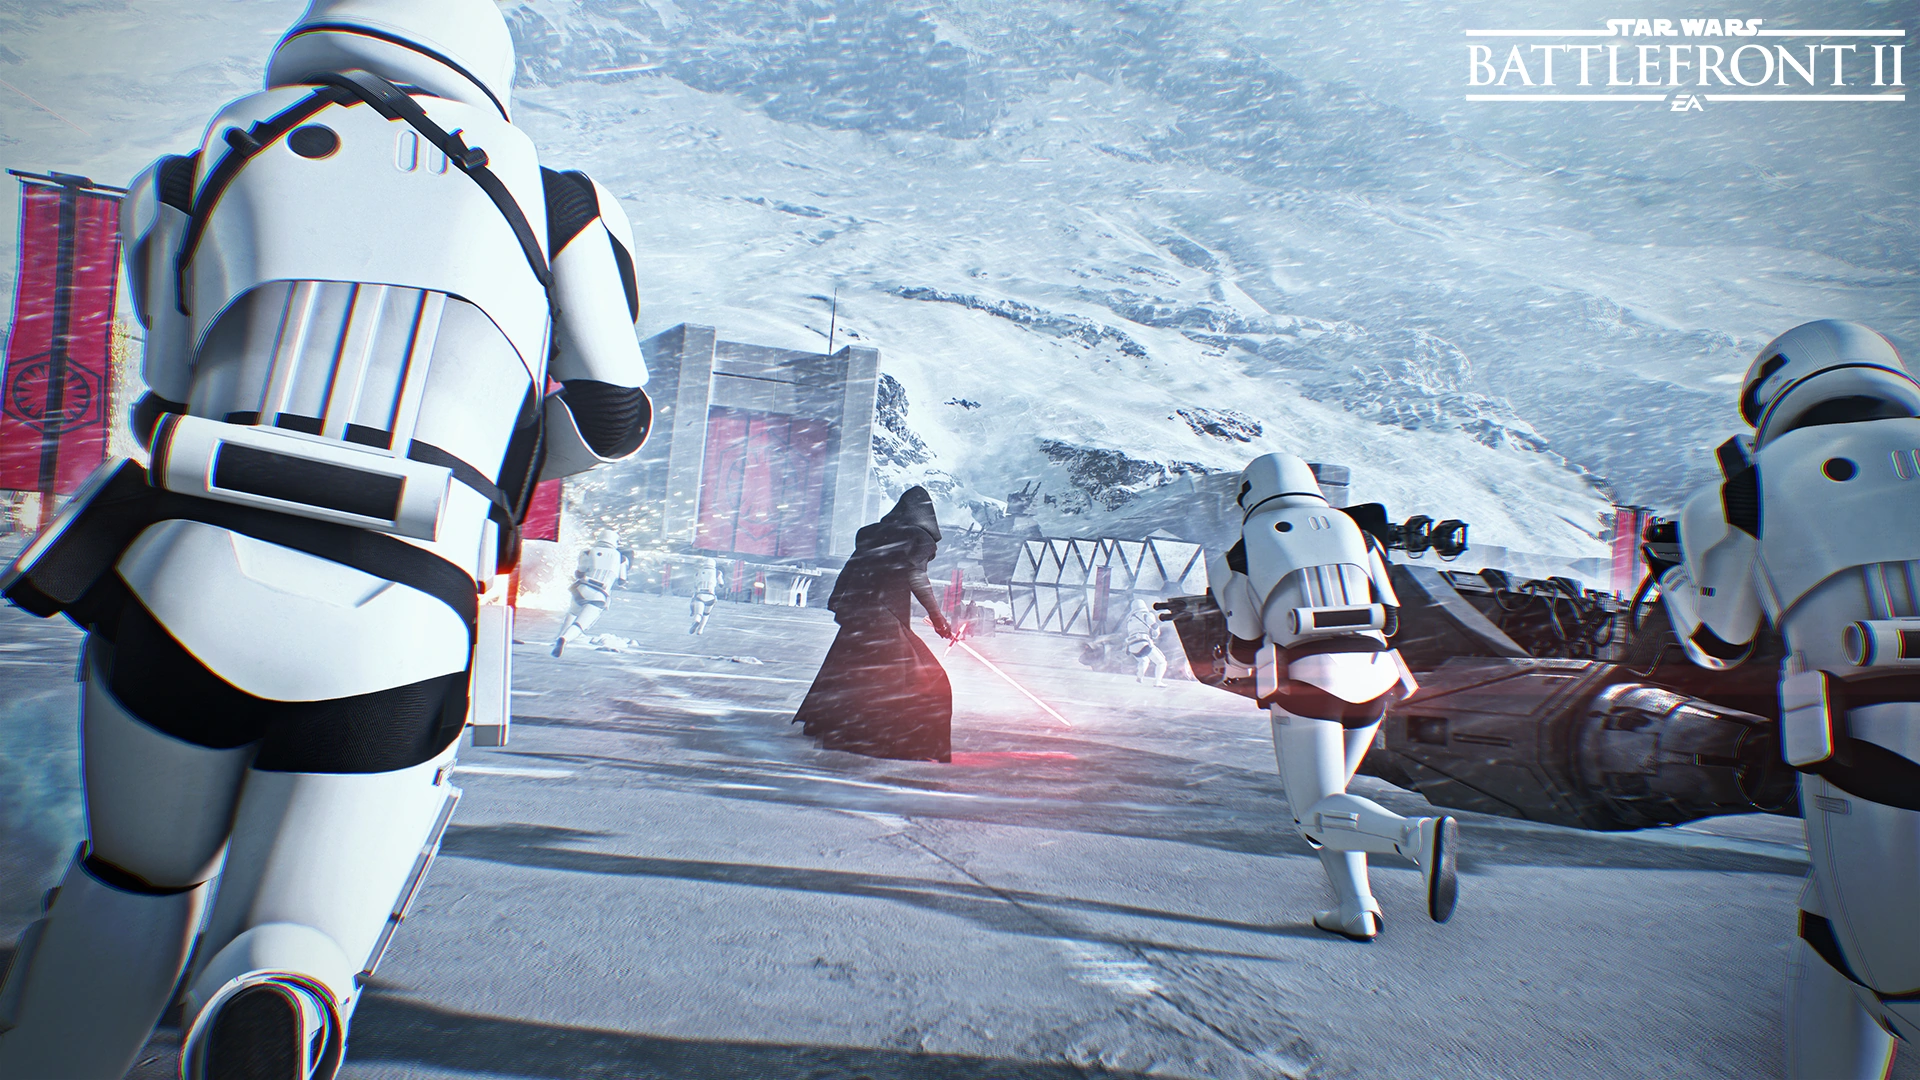
Hoth: Outpost Delta
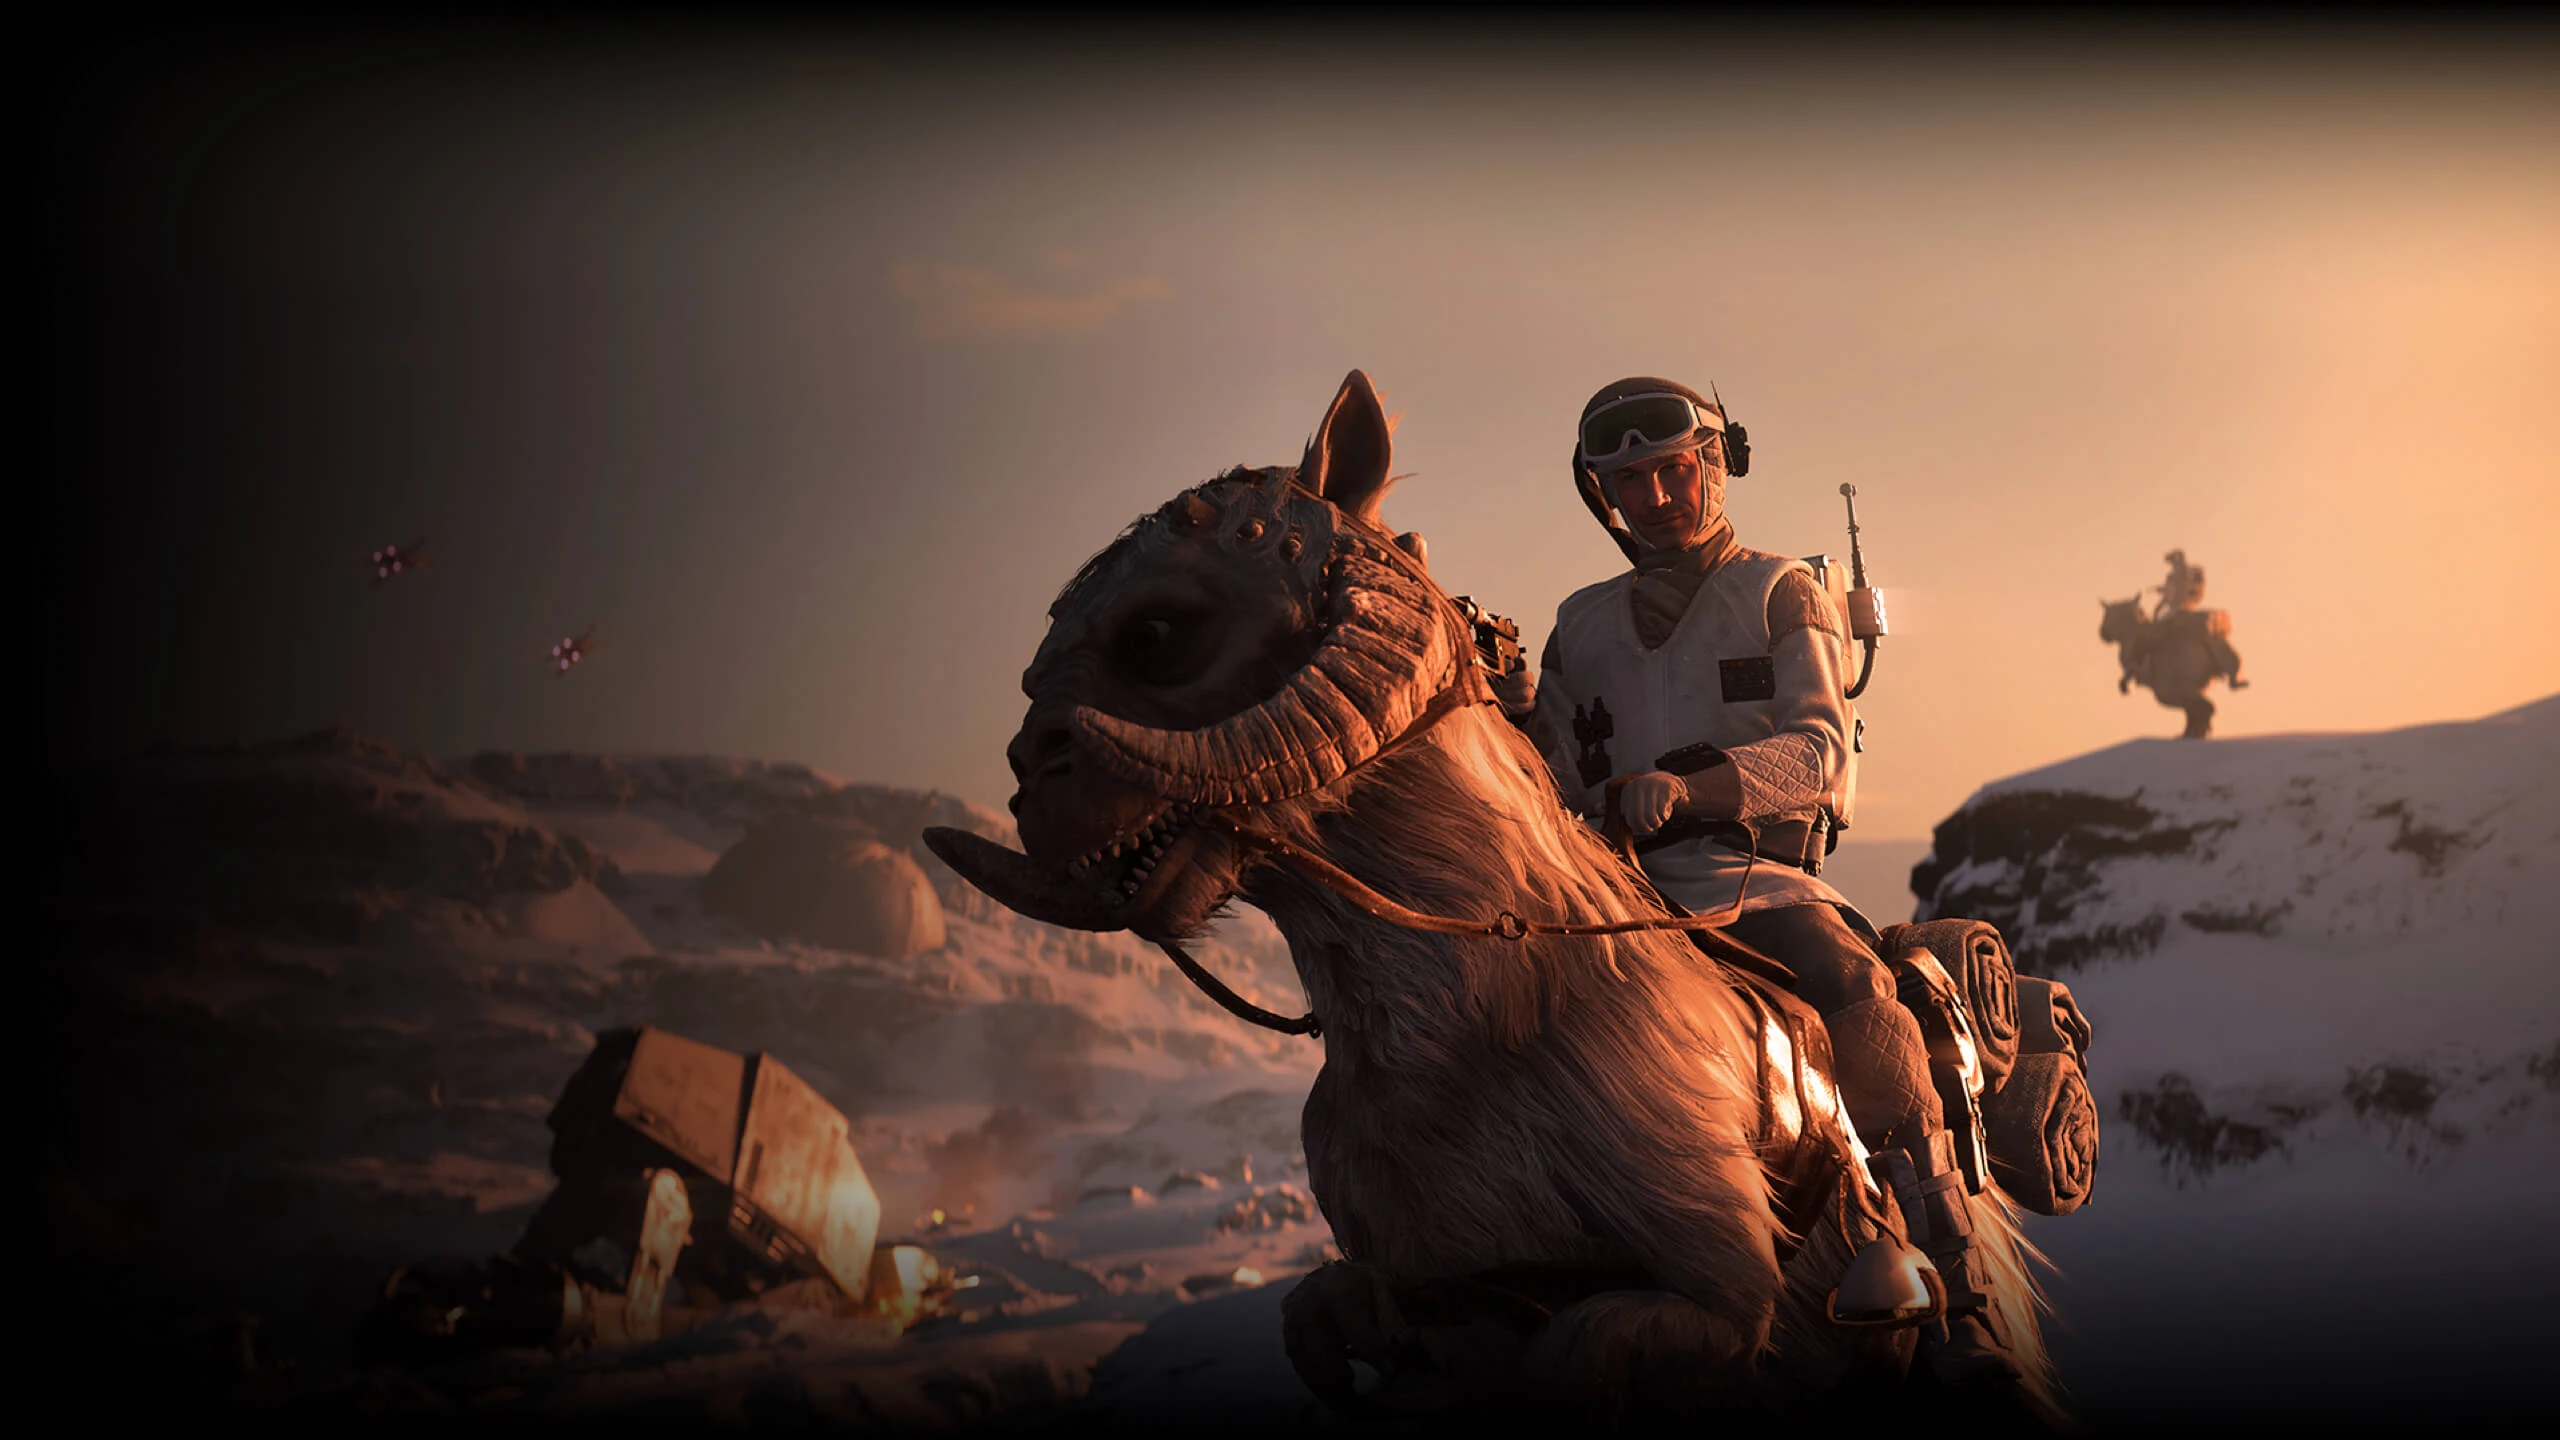

The icy wastes of Hoth are home to one of the Galactic Civil War's most momentous battles. Plodding AT-AT walkers advance toward the Rebel position under air cover by TIE fighters, TIE Bombers, and TIE Interceptors, as Rebel defenders and their screen of A-wings, Y-wings, X-wings, and T-47s try and take down the AT-ATs and hold the position. Should the Imperials breach the defenses, their target is first the hangar bays. Once those are taken, their focus will shift to the internal fuel depot which they will detonate to obliterate the base.
Endor: Research Station 9


The tables have turned! Rebel saboteurs work quickly to steal an AT-AT walker and use it to attack a hidden Imperial base on Endor. This night battle begins with an Alliance attack on the walker. Should the Rebels manage to overwhelm the defenses around the AT-AT, they take control and set it on a march toward the Imperial outpost. Speeder bikes streak through the woods of the forest moon as Imperial AT-STs and their infantry try and head off the attack. The fight culminates with a brawl on the threshold of the base itself.
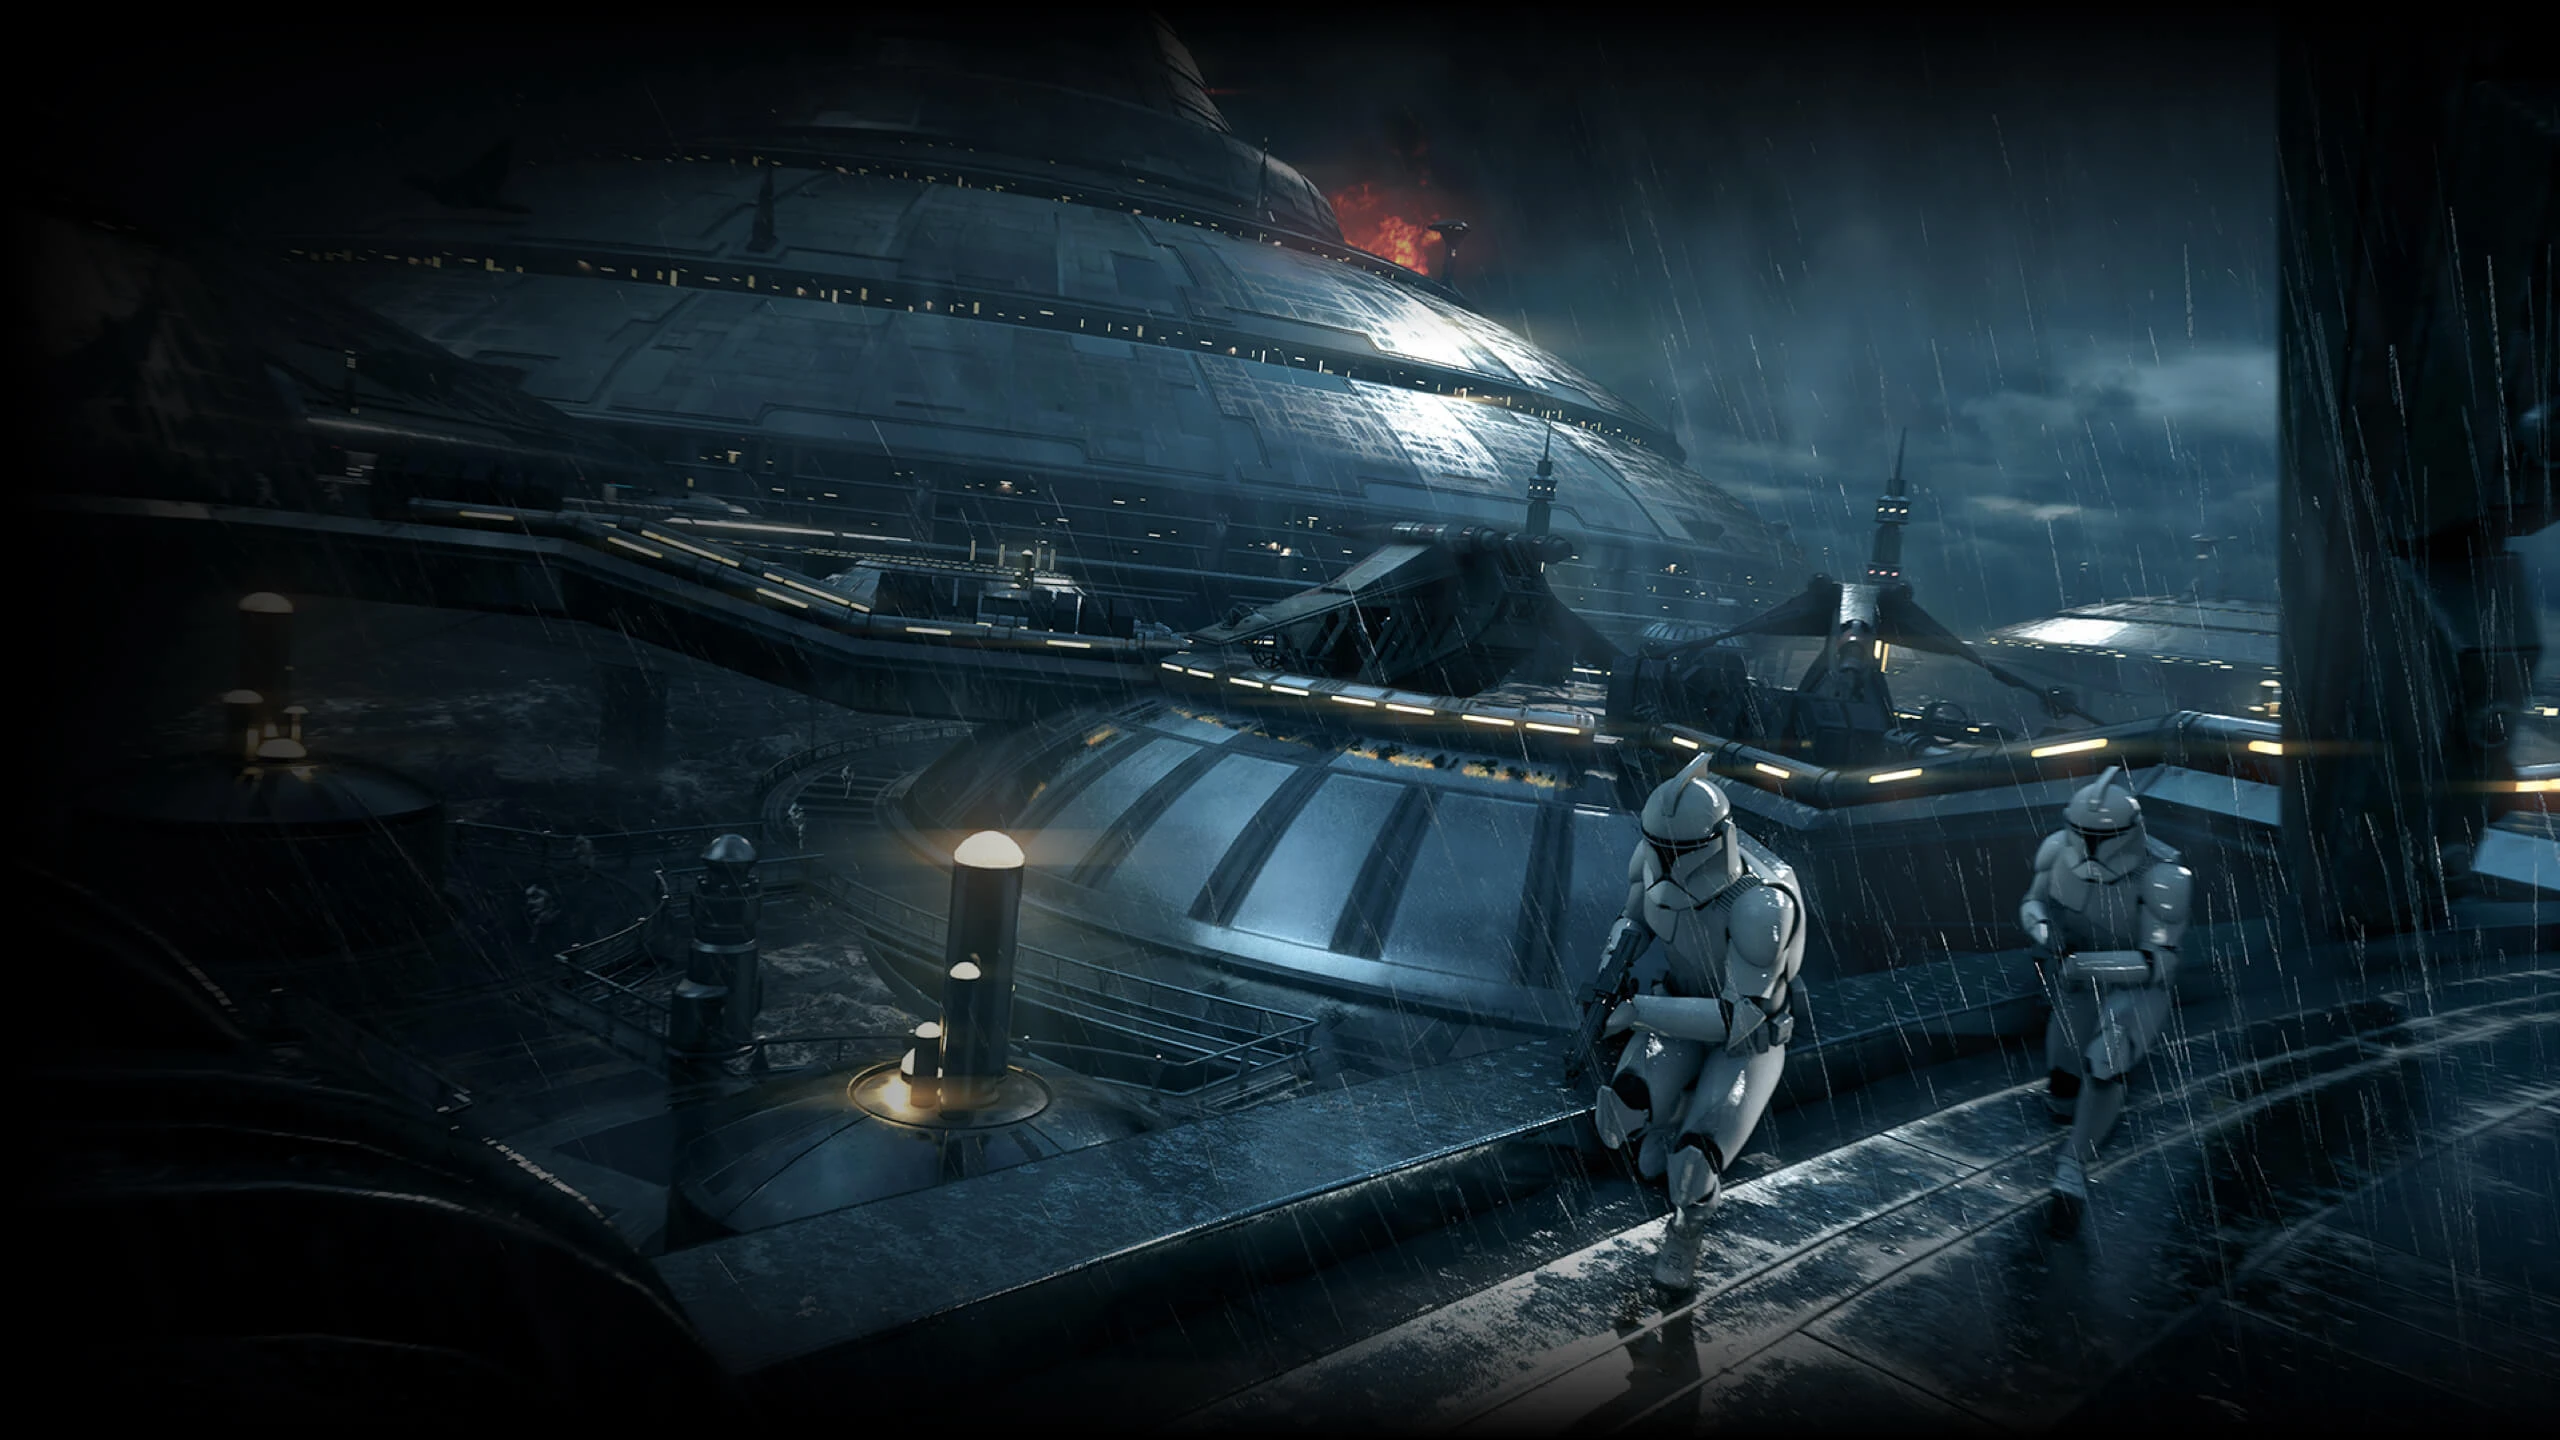
Death Star II: Command Center North

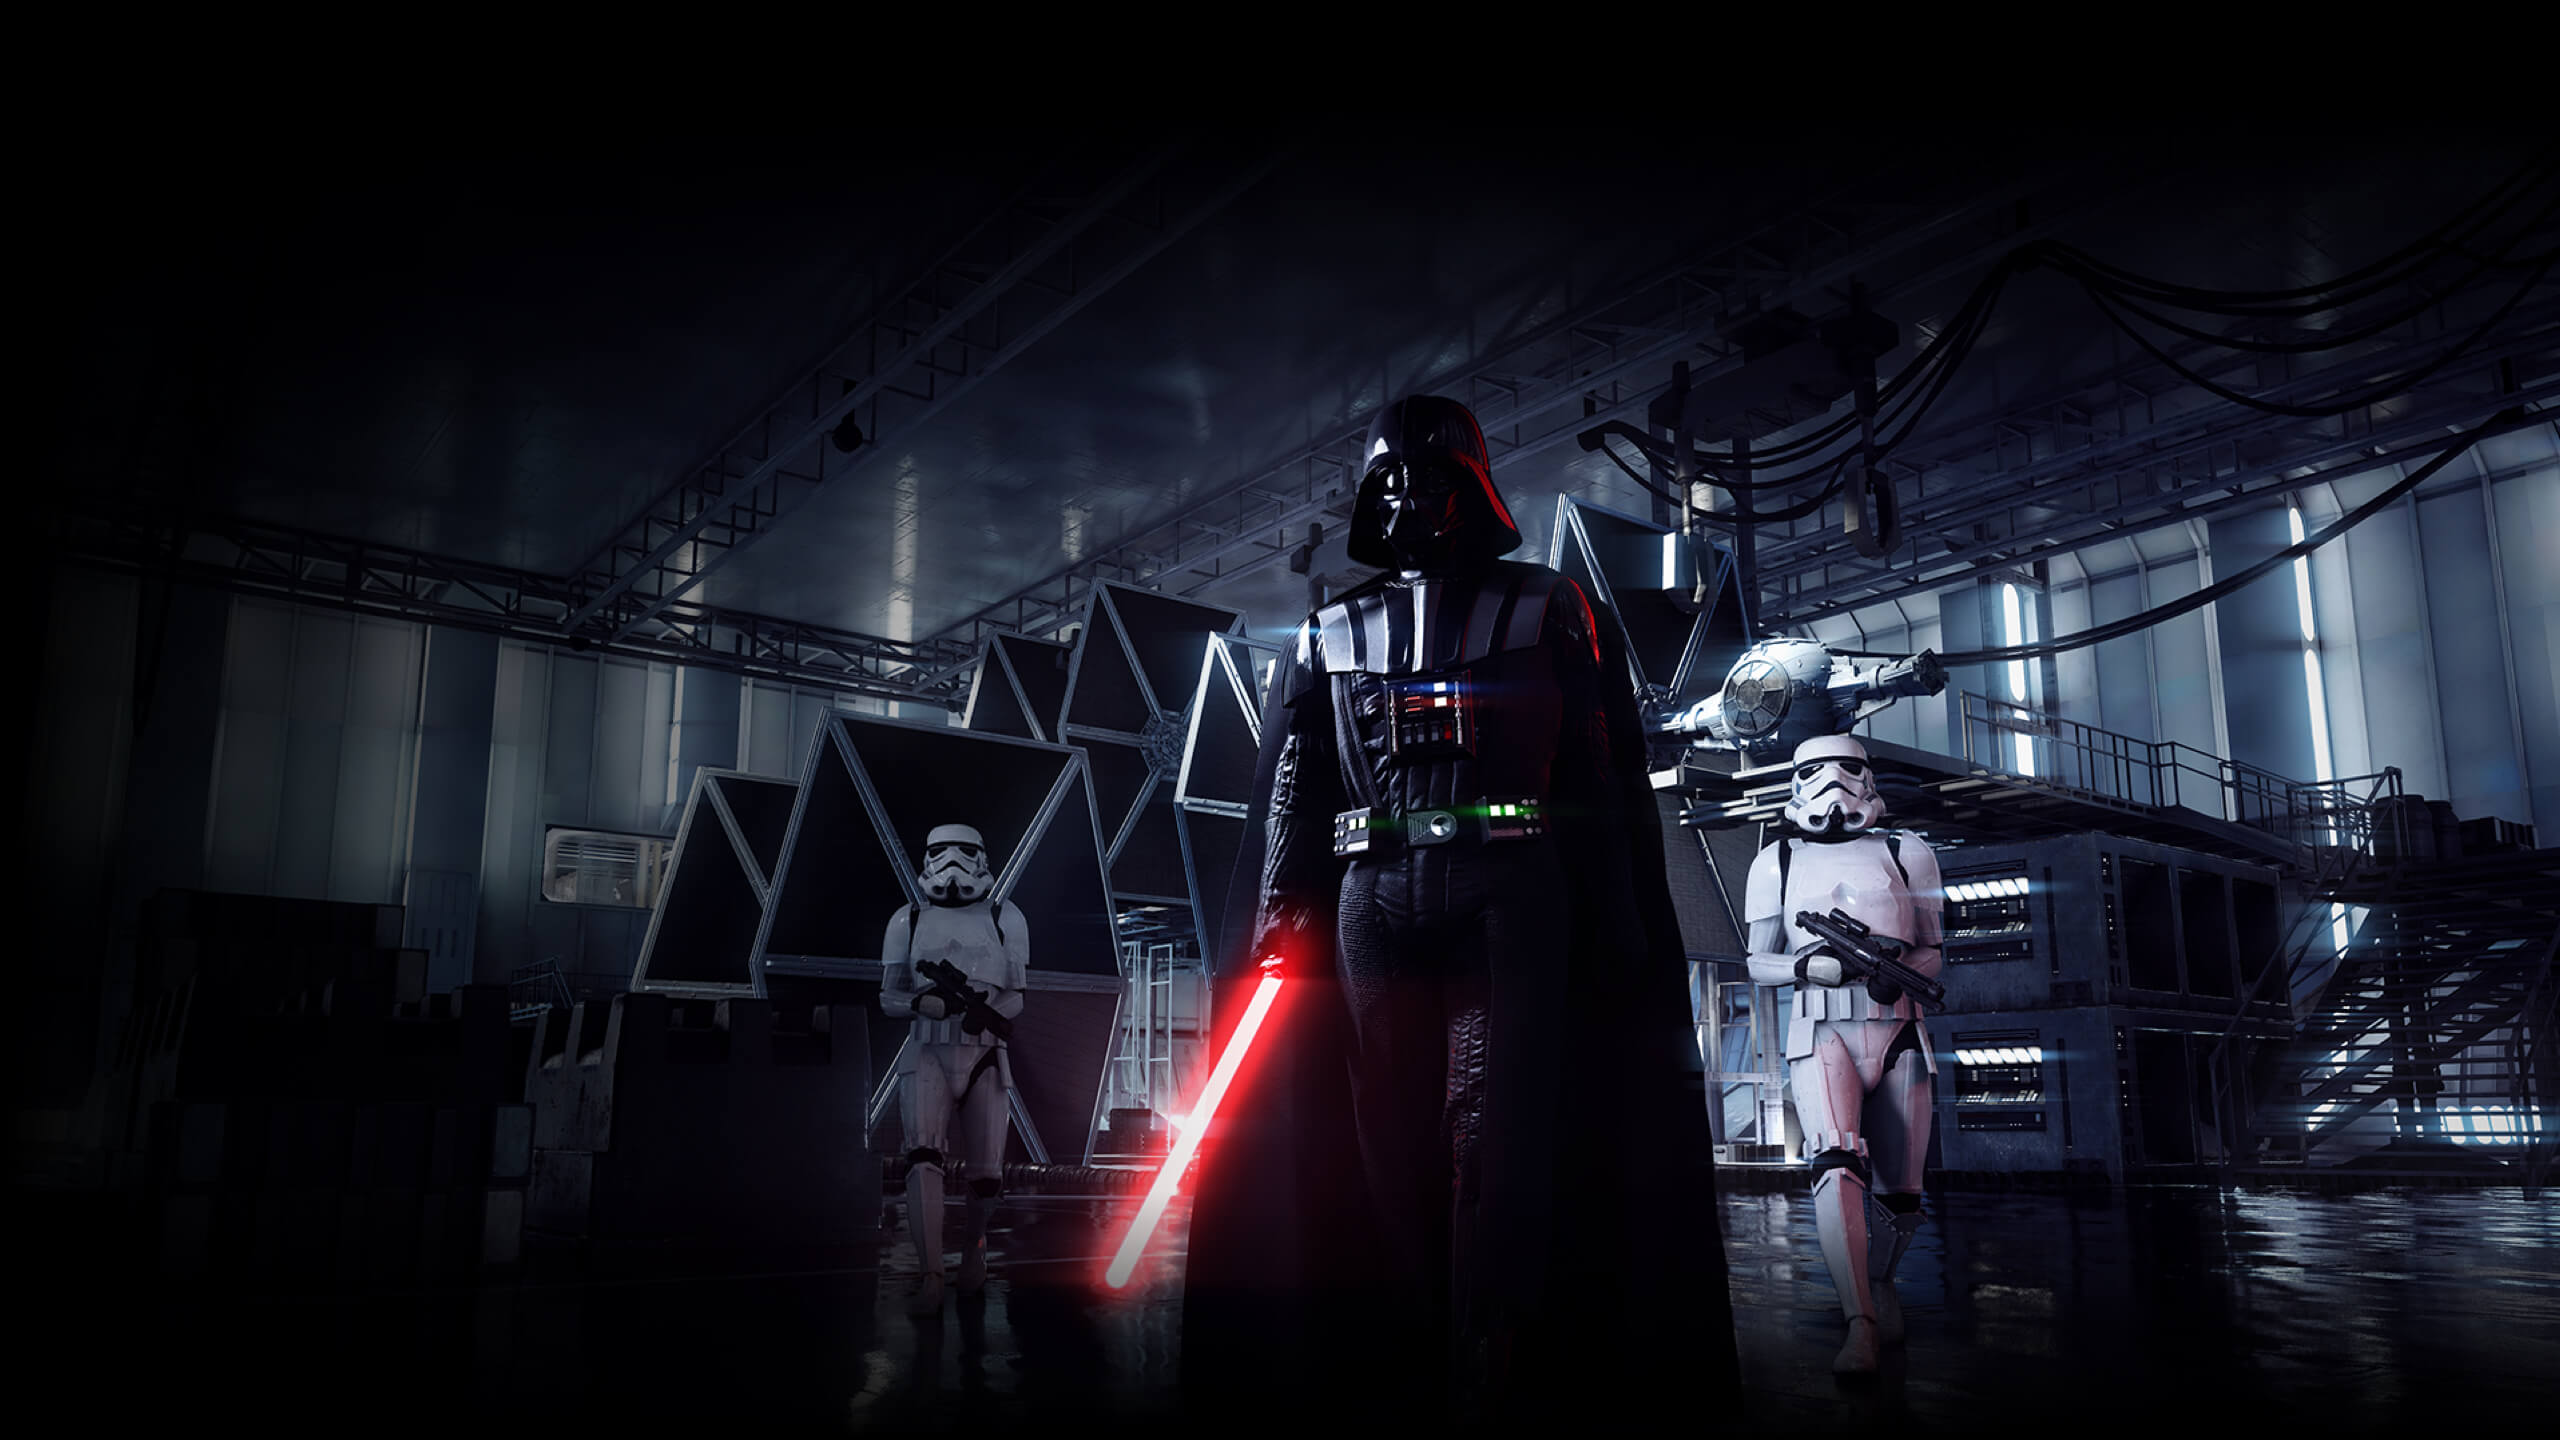
As the Battle of Endor rages all around it, an Alliance CR90 Corvette loses control and crashes straight into an open hangar on the massive Death Star. The surviving Rebels must fight their way out and quickly find another ship and escape before the Death Star itself explodes! To get out, the Rebels disable the tractor beam, disarm nearby weapons systems, and finally steal a shuttle and make good their departure. In the tight corridors and choke points inside Death Star II, there is little room for vehicular combat. Troopers, special characters, and heroes struggle at close range to overcome their enemies in an old-fashioned boots on the ground battle to the end.
Tatooine: Mos Eisley


Imperial stormtroopers rush from Llambda-class shuttles into the crowded streets of Mos Eisley. The massive limbs of AT-ST walkers kick up sand as Rebel blaster fire explodes all around them. The Imperial objective is simple: destroy the Alliance U-wing housed in a landing bay. To get there, they'll need to fight through the outskirts of the city, secure the markets, and finally destroy their target. But the Rebels won't surrender without a fight... X-34 Landspeeders wait in ambush and Alliance X-wings, A-wings, and Y-wings are waiting to pounce on the Imperial invaders.
Yavin 4: The Great Temple

.jpg)
Deep within the heart of the Great Temple on Yavin 4 is a secret of key importance to the survival of the Rebel Alliance. But Imperial ground forces have arrived! Death Troopers and stormtroopers must take out defensive turbolasers to open up the position, fight through the outlying Rebel outposts, storm the gate, and finally breach the inside of the massive complex and secure the data. Wookiee Warriors, U-wing gunships, and Rebel soldiers stand in the way of the relentless Imperial advance.
Cold War/First Order–Resistance War
Jakku: Starship Graveyard
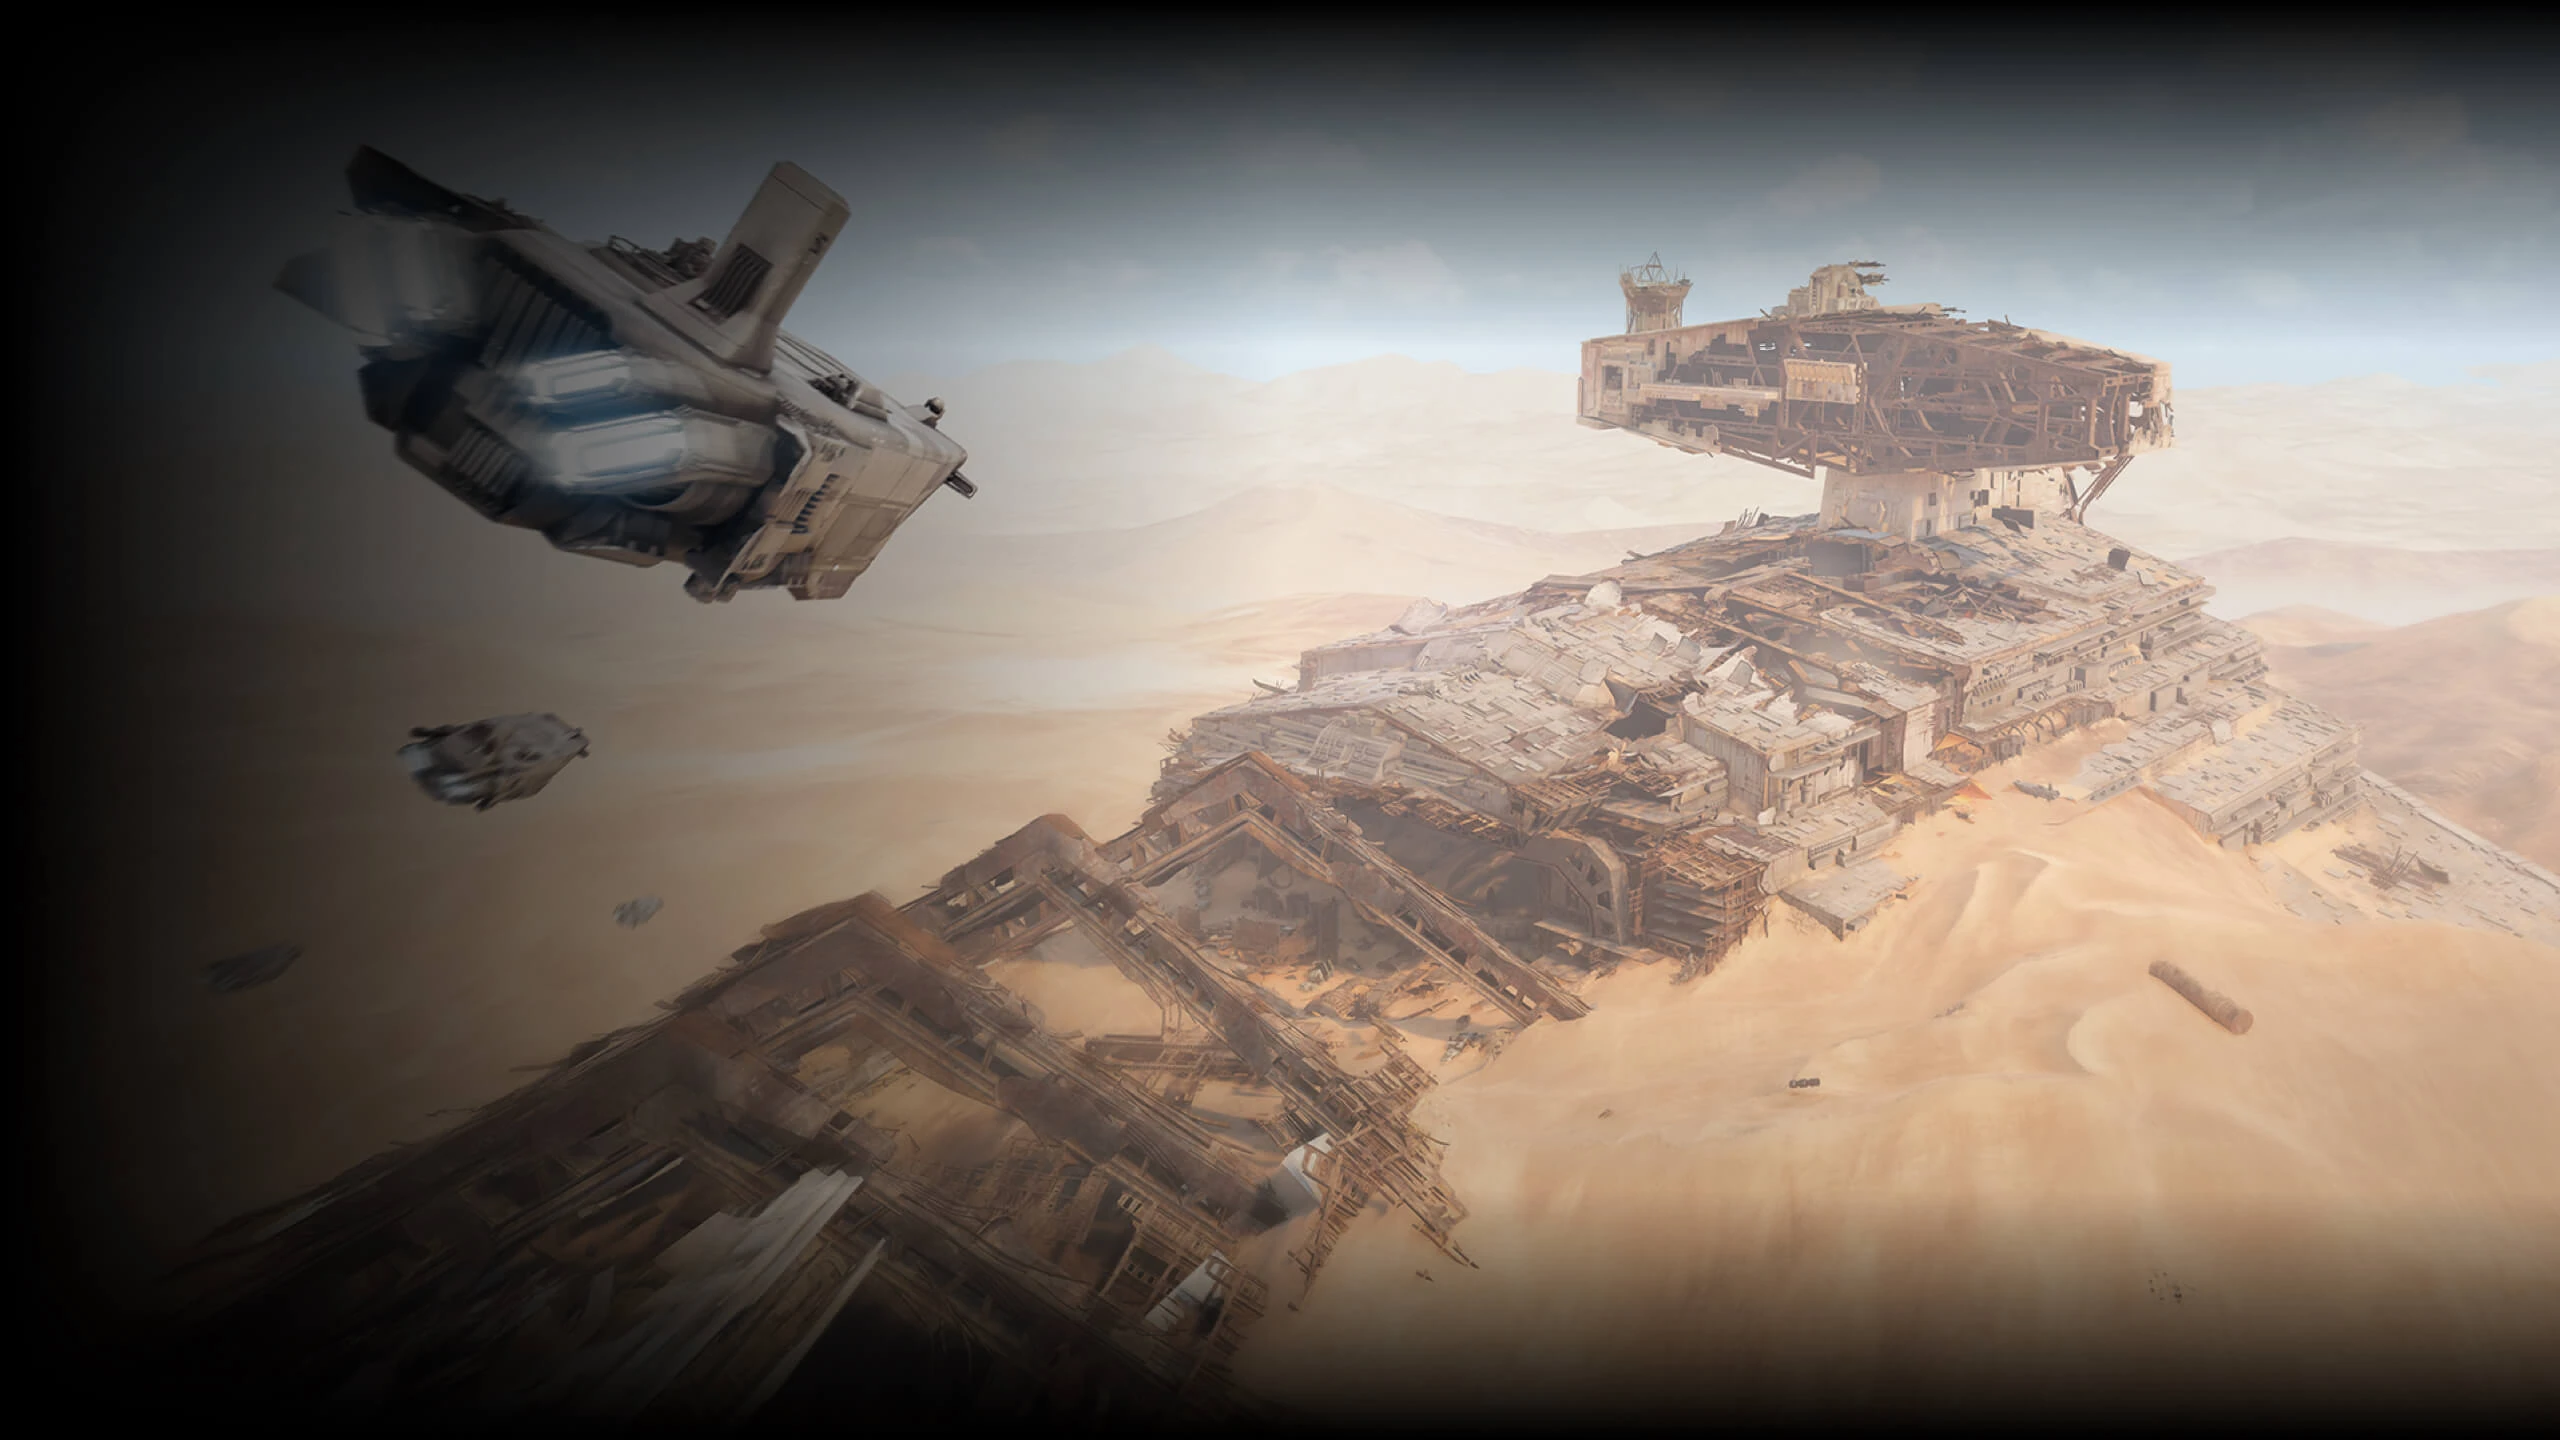

First Order forces have trapped a group of Resistance fighters within the derelict hull of a crashed Star Destroyer in the desert of Jakku. The Resistance have located some data of key interest and are desperately attempting to evacuate it. The First Order attackers must first cut off the Resistance's access to nearby landing pads to keep them from escaping, then storm the ship, locking down the supply hold, taking control of the exits, and finally heading topside to prevent a rescue by transports landing from above.
Takodana: Maz's Castle
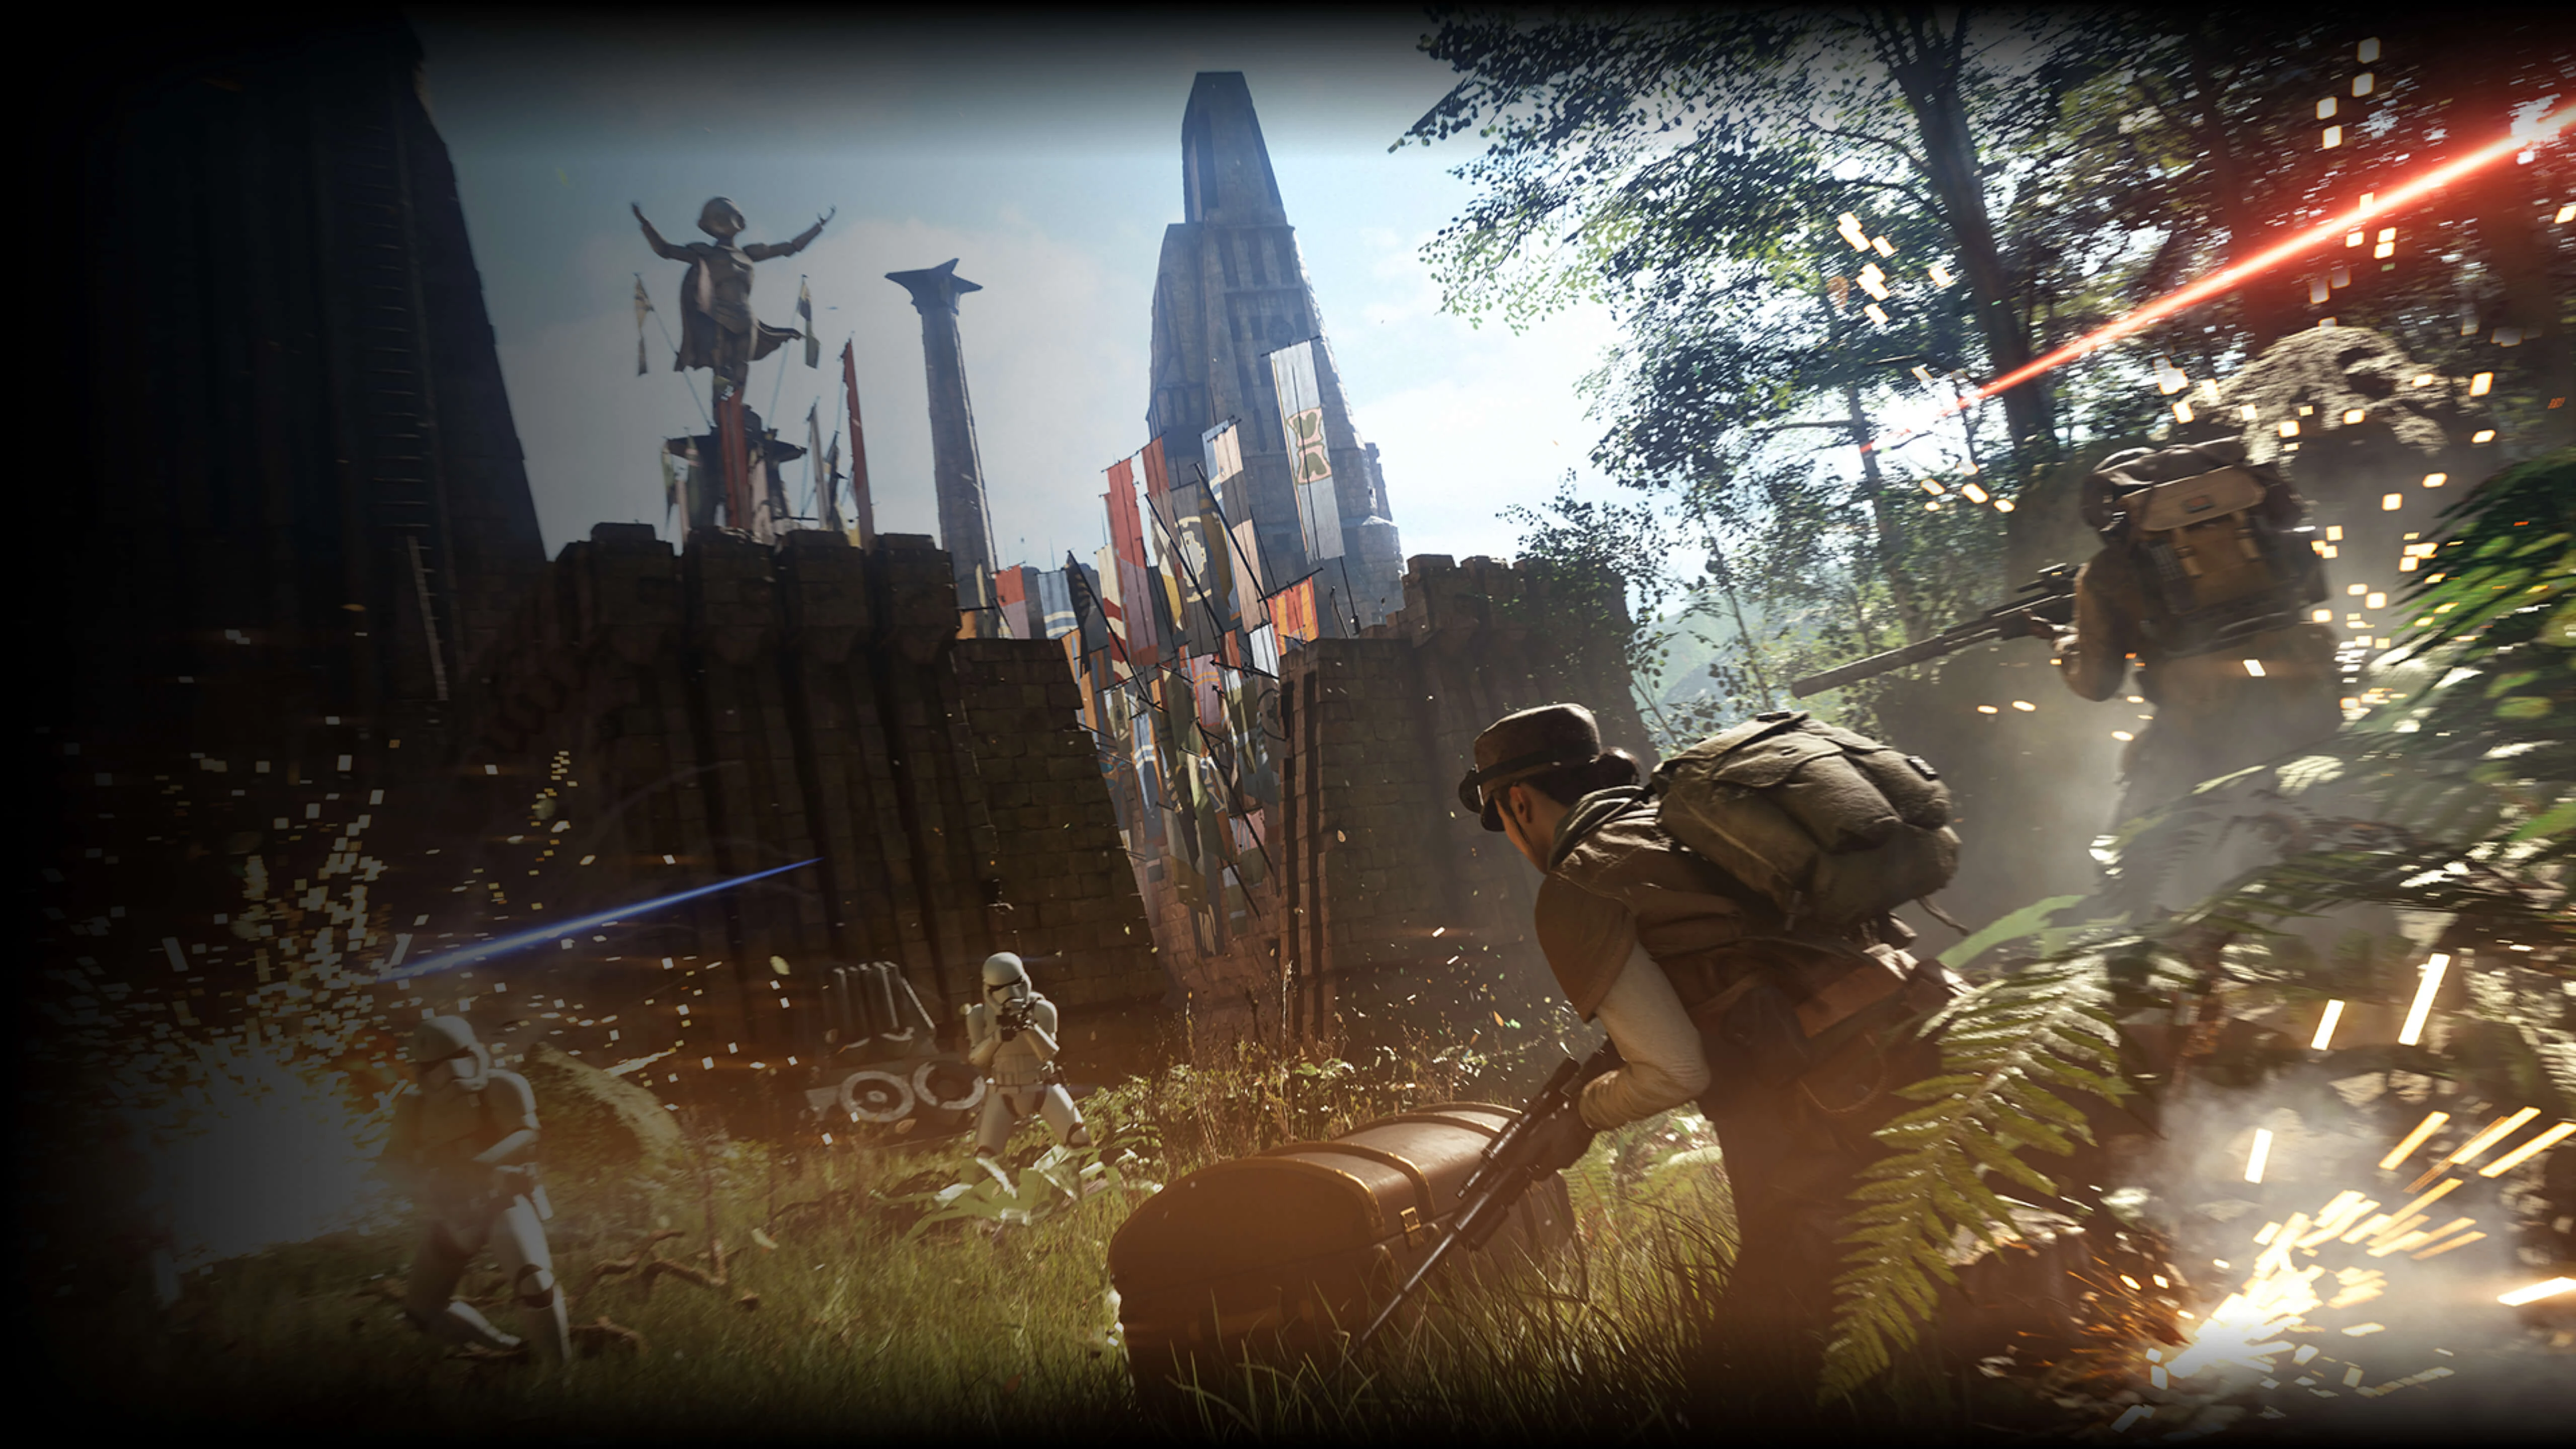

On Takodana, the First Order moves against Maz Kanata's castle. Resistance forces have taken up a defensive position inside. The First Order advances methodically, capturing the nearby Memorial Hill as a staging area, moving on to attack the outer defenses and finally the castle itself, including a shootout in Maz's iconic cantina.
Starkiller Base: Precinct 47

As the fighters attack rages above Starkiller Base, a cadre of Resistance warriors make a daring raid to rescue prisoners trapped inside the facility. Troopers attack the external defenses, taking out guns and TIEs on the ground and trying to free the captives before the planet explodes. The First Order forces are soon airborne, however, counterattacking with TIE/FO and TIE/SF starfighters as the Resistance fight to secure the gate. The battle then reaches a climax as the Resistance override the security doors to extract the prisoners and get them to transports in a waiting hangar.
Crait: Abandoned Rebel Outpost


As the First Order slowly marches their AT-M6 walkers towards the base, the Resistance must find a way to escape. The Resistance must use Ion Disruptors scattered around the trenches and tunnels under the salt plain to destroy the walkers. If that fails, then the First Order must capture a hangar bay inside the base to use it as a staging ground to go deeper into the base. Once the First Order captures the hanger bay, then they must destroy the power consoles to stop the Resistance from escaping and securing themselves deeper into the mine.
Updates
- Tweaked the spawning positions of Starfighters on Tatooine.
- Tweaked the spawn positions of the AAT on Kashyyyk.
- Fixed an issue where the objective markers would not update correctly on Endor.
- More reinforcements are awarded after each phase in Galactic Assault.
- Fixed an issue that prevented player to deploy in the AT-RT during the first phase on Hoth.
- Fixed an issue where the AAT would sometimes spawn beneath the MTT, rendering it unable to move.
| Game Modes in DICE's Star Wars Battlefront II | |
|---|---|
| Offline | |
| Multiplayer | Blast ⋅ Co-Op Missions ⋅ Ewok Hunt ⋅ Hero Showdown ⋅ Hero Starfighters ⋅ Heroes vs. Villains ⋅ Jetpack Cargo ⋅ Galactic Assault ⋅ Starfighter Assault ⋅ Strike / Extraction ⋅ Supremacy |